Week 18 & 19: Textures Galore
- May 16, 2016
- 2 min read
After I had finished my sculpts, I baked out my normal and cavity maps in xNormal (I did try the GetBaked script inside 3dsMax, but it didn't give me the results that I wanted), and my Ambient Occlusion in Substance Painter. The cavity map was recommended to me by my tutor as you can overlay it on your albedo and it's helps with texturing.
For normals maps I usually bake out 3 versions; one with a normal ray distance for a bake that generally doesn't clip to badly (around 4), a low ray distance (around 1 or 1.5) to get the smaller parts of the mesh or ones that are close together (fingers, faces etc) and finally a high ray distance (usually 5) to get the larger exterior details (clothing without obstructions, uncovered parts of the mesh and so one).
I then take these into Photoshop and put them together to make an optimised normal map also using the Spot Healing Tool (with content-aware fill) to get rid of the bigger errors on the bake; although I know it might not be the most efficient or best way of making normal maps, it works the best for me helped me learn how normal maps work on a techincal scale and what the colours mean depending on where they are on the normal map; I then used them to make better Ambient Occlusions and cavity maps.
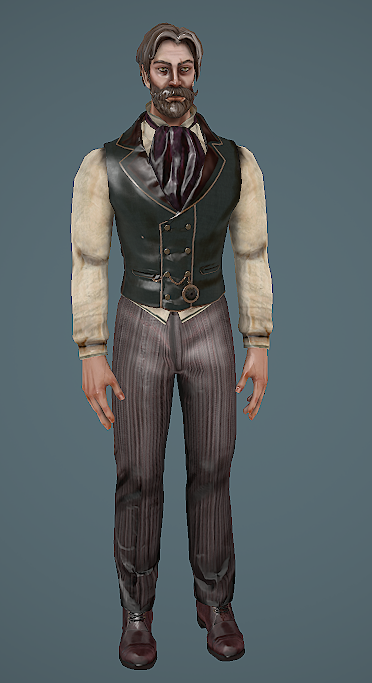
Morgan Normal/AO/Cavity/Metal


Dorethe Normal/AO/Cavity


Vivienne Normal/AO/Cavity


For Morgan I overlaid the cavity map which definitely helped but I found that overlaying the AO and normal map (made black and white) worked the best. For my textures I use my exported normals and make a cut-out to make a mask for my albedo layer. I then make flat colour layers for to get the sense for the textures, and after add the details.


I hope to get the other textures done soon with the same level as Morgan soon; I'm should be finished with Dorethe's textures soon, but need to make everyone's specular and roughness maps.


Comments